

If you often switch between multiple apps or windows while working, split screen is a lifesaver. It allows you to view two (or more) windows side by side, boosting productivity. Whether you’re using a Windows laptop or a MacBook, the split screen feature is built-in and super easy to use.
In this guide, you’ll learn step-by-step how to split screen in your laptop.

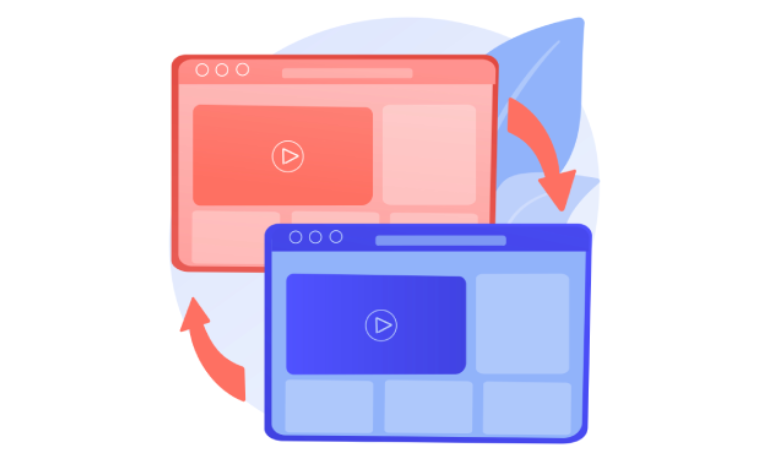
🖥️ Split Screen on Windows Laptop
1. Using Snap Assist (Windows 10 & 11)
1. Open the first window you want.
2. Press Windows Key + Left Arrow → It will snap to the left side.
3. Open another window and press Windows Key + Right Arrow → It will fill the right side.
👉 On Windows 11, you also get a layout suggestion when you hover over the maximize button.
2. Drag & Drop Method
– Drag the title bar of any window to the left or right edge until you see a split outline.
– Release it, and the window will snap to half of the screen.
– Do the same for another app on the other side.
3. Split into 4 Screens (Windows 10 & 11)
– Press Windows Key + Left Arrow + Up Arrow → Top-left corner.
– Repeat with other windows for 4-way split.
🍏 Split Screen on MacBook
1. Using Split View (macOS Catalina & later)
- Open an app window.
- Hover over the green maximize button in the top-left corner.
- Choose Tile Window to Left of Screen or Tile Window to Right of Screen.
- Select another app for the other half.
2. Adjusting Split Screen
– Drag the divider in the middle to resize windows.
– Exit split screen by pressing Esc or clicking the green button again.
✅ Pro Tips
– Use Alt + Tab (Windows) or Command + Tab (Mac) to switch apps quickly.
– On Windows 11, you can use Snap Layouts for more flexible multi-tasking.
– On Mac, use Mission Control (F3) to manage multiple desktops and split screens.
❓ FAQs
1. Can I split screen into more than 2 windows?
Windows: Yes, up to 4 with Snap Assist.
Mac: No, limited to 2 in Split View.
2. Why doesn’t split screen work on my laptop?
Windows: Make sure Snap Windows is enabled under Settings > System > Multitasking.
Mac: Ensure you’re using macOS El Capitan or later.
3. Can I use split screen with an external monitor?
Yes! You can split screen on both your laptop screen and the external monitor separately.

📝 Conclusion
Now you know how to split screen in laptop whether you’re using Windows or Mac. This feature makes multitasking smoother—no more juggling between tabs and windows.
Use Snap Assist in Windows or Split View in macOS, and you’ll boost your productivity instantly.


)